How to use Netlify functions with IFTTT webhooks
There are so many manual repetitive tasks which we often feel comprehended to automate as a developer and getting it notified via smartphone becomes the ultimate aim. I would be discussing the implementation of 1 such task which I have often felt needed to automate - Getting the exchange rates (US Dollar $ - Indian Rupee ₹) daily morning.
Many people often use Western Union for transferring and I would be using it as an example here. However this same implementation can be extended to query other such services. The key point to note here is that these services often provide a lesser exchange rate compared to the global exchange rate value. So I wanted to get notified with the actual exchange market rate along with the rates which Western Union provides.
In order to accomplish this, I needed 3 components :-
- Script to fetch the exchange rates: I was looking for something which was serverless & free and that's when I came across Netlify functions. I already use Netlify for hosting my blog and CMS and I love this platform.
- Trigger notifications to your smartphone: I already use IFTTT and I thought I could use this platform to trigger custom notifications via webhooks.
- Trigger notifications daily morning: The final step is to trigger these notifications daily at specified time. I came across this free tool cron-job which allows me to do exactly this.
Configuring IFTTT Webhooks
Let's go ahead and create a new applet with webhooks such that whenever it receives a web request, it will trigger a notification.
- After logging in IFTTT, click on "Create" by selecting "Webhooks" as this.
-
When you call the IFTTT webhooks, you can pass values to that as params. For e.g, the GET request to webhooks would have the below structure where you pass 2 values (value1 & value2) in the request URL parameters.
https://maker.ifttt.com/trigger/{trigger_name}/with/key/${process.env.IFTTT_KEY}?value1=${marketRate}&value2=${westernUnionRate}Once IFTTT receives this webhooks request, it can grasp the values you sent as params and display it in your notification.

-
Let's go ahead and configure the "then" part in IFTTT. Chose "Notifications" for this. In the message we can add it like below which utilizes the value we had earlier passed while calling the webhooks.
Market rate is {{Value1}} and WU rate is {{Value2}}
Getting started with Netlify functions
- Lets create a repo for the serverless netlify function by running
npm init -y - Install the latest netlify CLI version
npm install -g netlify-cli -
Go inside the folder and create a new function by running
netlify functions:create
It has a cool feature where you can choose a template needed for your purpose. For this purpose, I am going to chose the one which has fetch function.
Once you chose that, it will create a functions folder and auto generate a JS file which has a simple fetch function.
-
In order to handle secrets in your local, you would need to create an .env file where each entry is of the below format :-
<SECRET_KEY_NAME>: <SECRET_KEY_VALUE>You can set environment variables in netlify by following this link. There are certain non-sensitive environment variables (like NODE_VERSION) which you can set inside netlify.toml file.
- Let's go ahead and modify that function to invoke the API's needed to fetch Western Union Rates and the global exchange rate. You can view the code here.
- Finally in the code, once we get both the rates, lets call the IFTTT webhooks by passing in these values as request URL parameters.
https://github.com/RanjithNair/ifttt-wu/blob/master/functions/get-wu-rates.js#L56-L62 -
Create netlify.toml file with the below contents. We will refer to this in our Netlify deployment section.
[build]command = "npm run build"functions = "lambda"
Local Development
For local development purpose, we will create 2 npm scripts - one for running in local server and the other for debug.
"dev": "netlify dev",
"debug": "set NODE_OPTIONS=--inspect & netlify dev",
Running npm run dev will start a local server and in order to hit your serverless functions, you can trigger a GET request to the below end point :-
http://localhost:<port_number>/.netlify/functions/get-wu-rates
functions: the folder created for storing the serverless function
get-wu-rates: the name of the JS file hosting the serverless function
Netlify Deployment
Once we have tested our serverless function, lets deploy this to Netlify. In order to do this, we would need to add couple of npm scripts.
"build": "netlify-lambda build functions",
"prebuild": "npm install"
netlify-lambda allows us to build the functions to the directory configured in netlify.toml file earlier. Since we have a package dependency (node-fetch), we will do a npm install as a pre-build step.
Login to your netlify account and select the Git repo where this project is hosted. Once the project is successfully built, navigate to the "Functions" tab where you will find the end point of your serverless function. This is the end point which you will configure in the cron job.
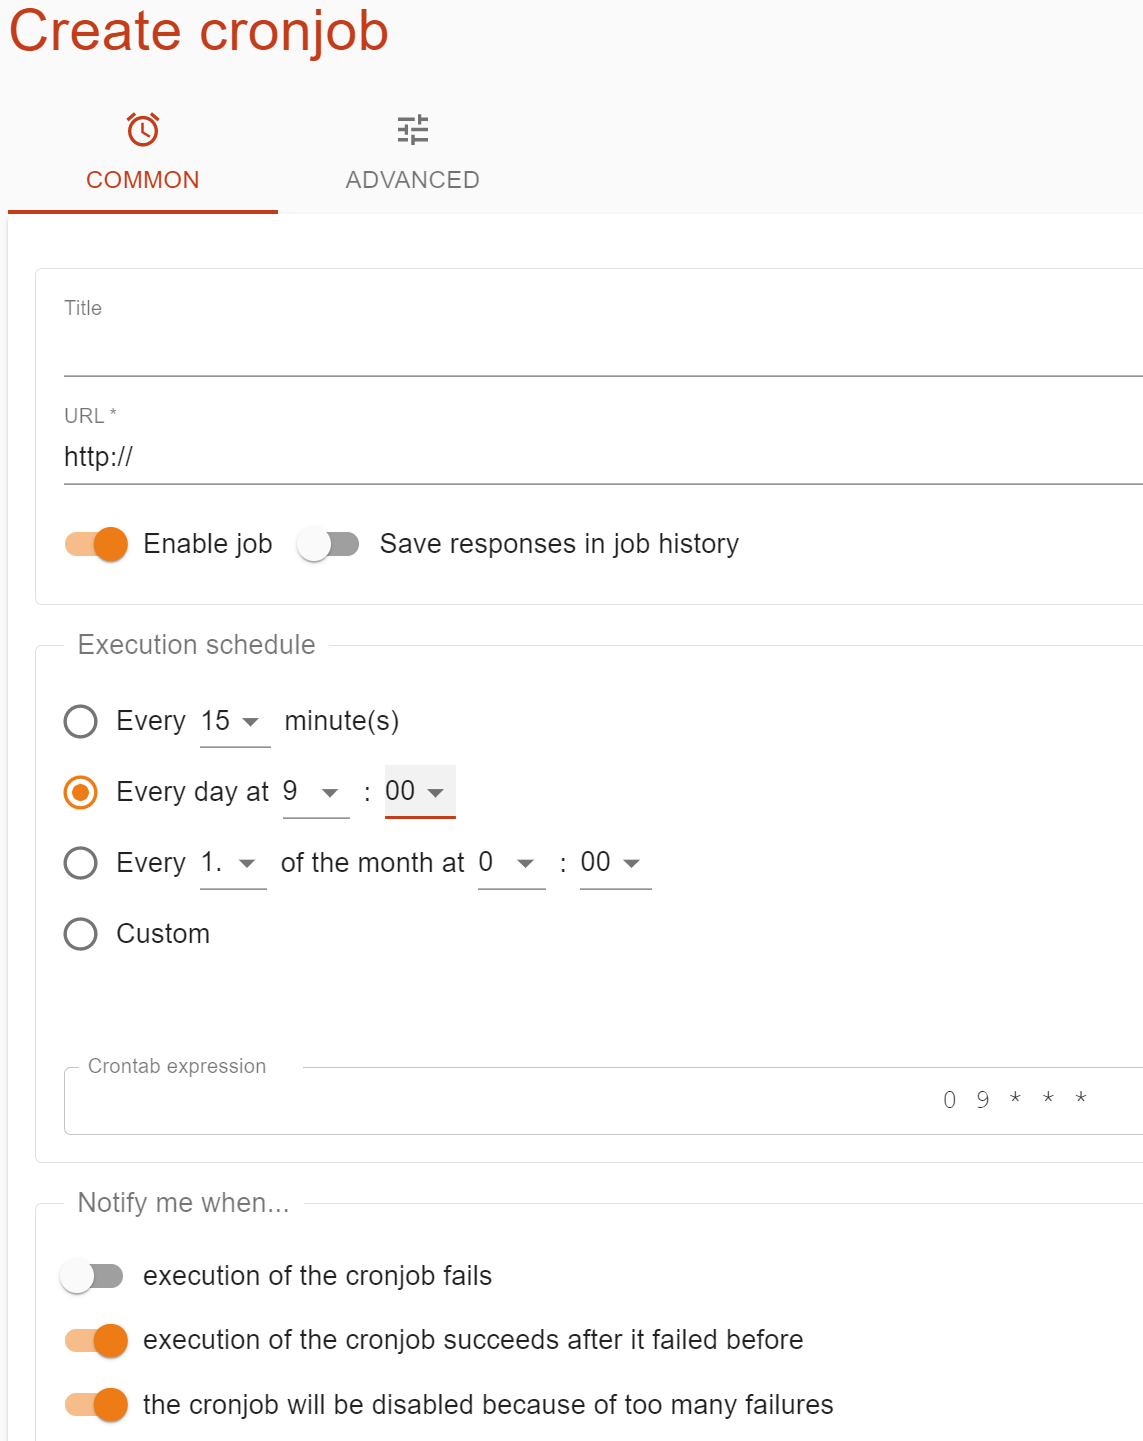
CRON Job configuration
The final step of this process is to configure the CRON job so that the notification is triggered daily. Cron-job hosts a free tool for scheduled execution of your websites and scripts.
For configuring this cron job, provide the serverless function end point from Netlify and the schedule you want. You can also configure to get an email alert if the job fails.
Finally, after doing all of the above steps I started getting this daily notification for which I earlier used to spend time doing it manually.
